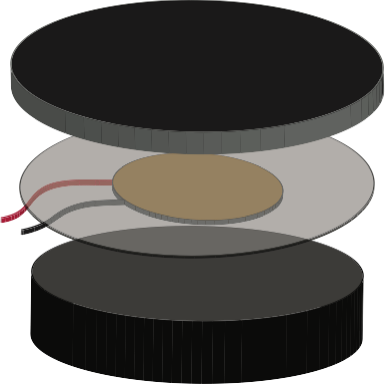
The top layers protect the sensor from damage and reduce the amount of noise from the drum stick hitting the sensor.
The middle layer is a piece of metal that helps transmit the shock from the stick into the piezo sensor.
The bottom layers help keep the drum pad from rattling on the table and also give it a solid base to mount it to something.
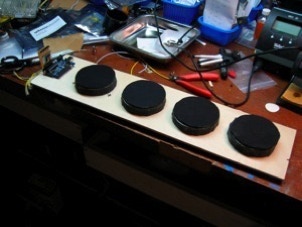
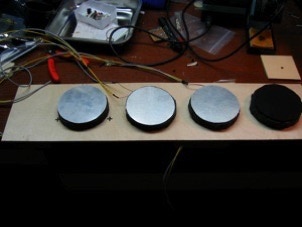
The drum pads show here were all assembled onto one piece of 1/4” plywood and the pads were made small so that it could be used as a desktop model. You may build yours much bigger, with individual pads. You could even get extra piezos and experiment with different constructions.

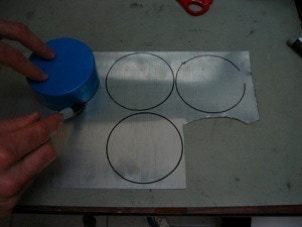
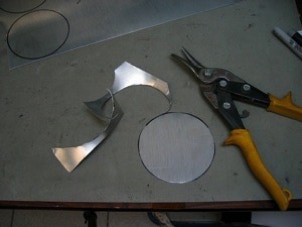
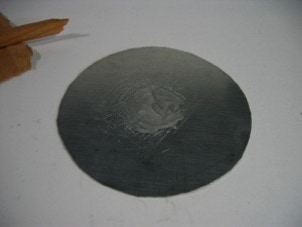
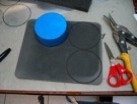
Draw circles the on the metal sheet.
You choose the size.
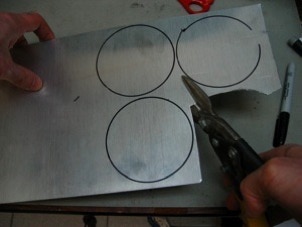
Cut out the circles that you drew on the metal sheet with the tin sips.
WEAR SAFTY GLASSES and gloves !
Repeat for all of the drum pads.
Careful some of the edges may be sharp.
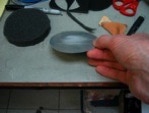
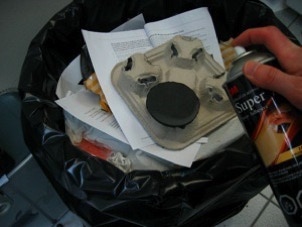
Ruff-up the center of each disk on one side. This is were you will glue the piezo.
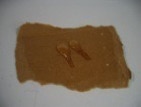
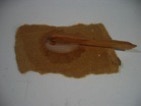
Mix equal parts of epoxy on a scrap. Mix well, and don’t get dirt into the glue, because you will want the piezo to be glued down perfectly flat.
(Hot glue also works, but it is harder to get flat.)
Apply a thin amount of glue to the ruff area on the metal.
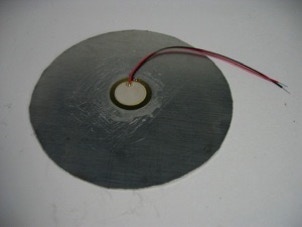
Press the piezo into the glue with the wires and light colored side up.
Put these aside until the glue is hard.
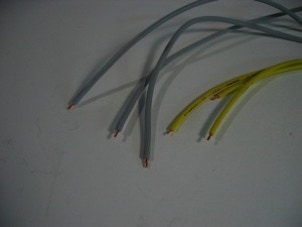
Make lengths of wire to connect the Drum kit to the piezos.
It is best to use two colors, because it is important that the red and black wire of the piezo go to the correct places on the drum kit.
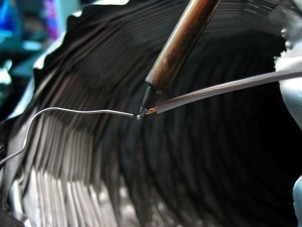
To make soldering the wires to the piezos easier, tin the wires. To tin the wires, hold your soldering iron on the wire for a moment then melt solder onto the end of the wire so that it is shinny and silvery.
Do the same for the red and black wires connected to the piezos.
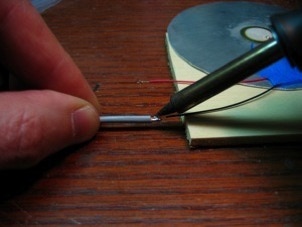
Holder one wire at a time place the tinned end next to the tinned end of the wire from the piezo and heat them with the soldering iron. The solder should easily melt and stick the wires together.
Hold still until the solder is sold, for a good connection.
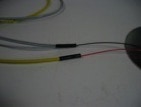
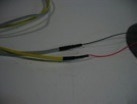
The joint between the wire and the piezo is quite weak. To strengthen it I recommend using heat shrink tubing. You may also use, electrical tape or hot glue.
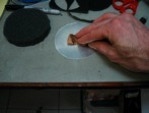
Using the same diameter circle that you used in Step 1 draw circles onto the bottom foam and the mouse pad.
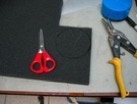
Using a pair of scissors, cut out the circles that you just drew.
Using spray glue, coat one side of the base foam. Then place it glue side down onto the surface were you would like to build your drum pad. Press.
Decide how you would like to route your wire, before you complete this step. It will be harder to move the wires after.
Using the same technique as Step 13, apply glue to the bottom of the metal plate (side with the piezo) and glue it on top of the foam.
Your drum pads are now ready to connect to Drum kit or your custom project!
Copyright SpikenzieLabs 2019